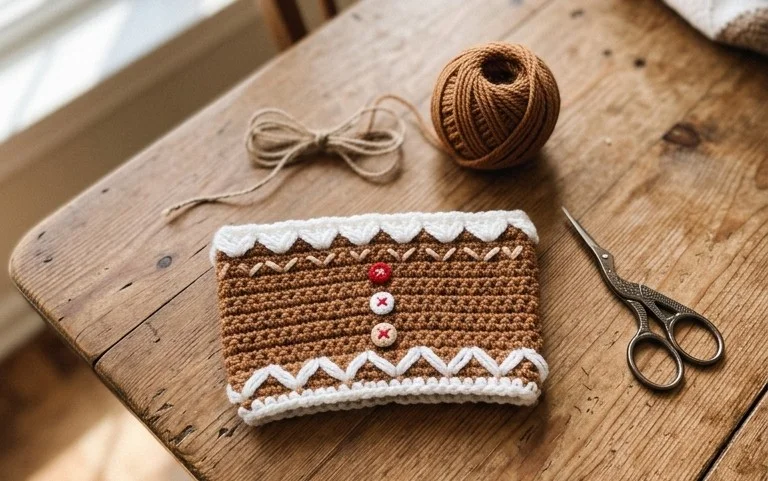
Easy Round Scrubby: Free Crochet Pattern for Beginners
Rough cotton yarn creates a textured surface that grips soap suds and scrubs stubborn pots with ease. This project turns simple loops into a functional home staple that fits right in your palm. Beginners appreciate how quickly the circular construction takes shape, while experienced makers enjoy the rhythmic nature of building rounds. You will learn to manage stitch counts and maintain even tension as you work, resulting in a durable piece that stands up to heavy washing. These scrubbies make thoughtful gifts for housewarmings or useful additions to your own kitchen sink routine, providing a practical way to keep surfaces clean.
Why This Project Is Worth Making
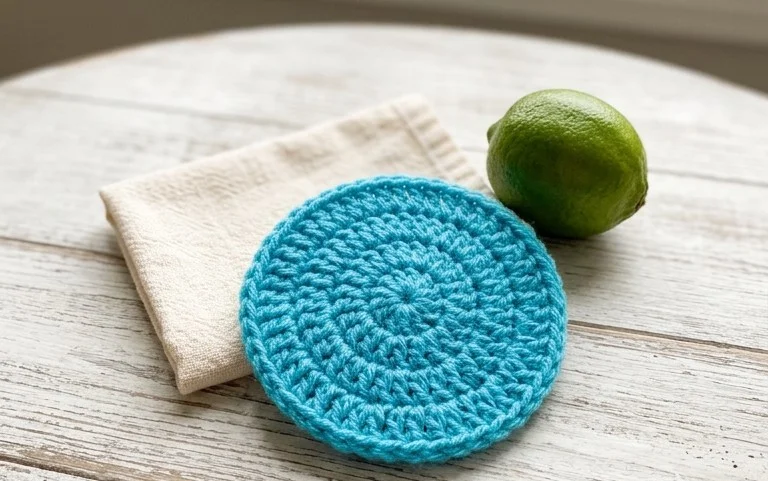
This beginner-friendly classic crochet coaster set serves as an ideal introduction to working in the round. The project relies entirely on basic double crochet stitches, making it a meditative exercise that allows you to master tension control without complex stitch patterns. You can complete a single coaster in under twenty minutes, which makes these an excellent choice for last-minute gifts or as a way to use up leftover yarn from larger blankets. Because these coasters are worked with a dense gauge, they provide a sturdy, heat-resistant surface that protects your furniture while maintaining a clean, minimalist aesthetic.
I managed to whip up a full set of four coasters in one evening while watching a movie. The instructions are very easy to follow and the result is quite professional.
— Sarah, hobbyist crafter
Pattern Overview & Skill Level
- Skill Level: Beginner
- Approximate Time: 15–20 minutes per coaster
- Construction: Working in joined rounds to create a flat circle
- Finished Dimensions: 4 inches in diameter
Materials & Supplies Needed
- Yarn: Worsted weight (#4), 100% cotton yarn, approximately 15 yards per coaster. Cotton is preferred for its heat resistance and absorbency.
- Hook Size: 5.0 mm (H-8) crochet hook.
- Notions: Yarn needle for weaving in ends, scissors, and a stitch marker to track the beginning of your rounds.
- Safe yarn substitutions: Acrylic yarn can be substituted for decorative purposes, though it will melt if used with extremely hot mugs. Wool yarn provides a thicker, more cushioned texture but requires hand washing.
Stitch Guide & Abbreviations (US Terms)
- ch = chain
- st/sts = stitch/stitches
- sl st = slip stitch
- dc = double crochet
- inc = 2 dc in the same stitch
- magic ring = an adjustable loop used to start the center of the project
Step-by-Step Pattern Instructions
Coaster Body
The coaster is constructed by increasing evenly in each round to keep the circle flat.
- Rnd 1: Start with a magic ring. Ch 3 (counts as first dc), work 11 dc into the ring. Join with a sl st to the top of the starting ch-3. (12 sts)
- Rnd 2: Ch 3, dc in same st as join. Work 2 dc in each remaining st around. Join with a sl st to the top of the starting ch-3. (24 sts)
- Rnd 3: Ch 3, 2 dc in next st, dc in next st, 2 dc in next st repeat from * to * around. Join with a sl st to the top of the starting ch-3. (36 sts)
- Rnd 4: Ch 3, dc in next st, 2 dc in next st, dc in next 2 sts, 2 dc in next st repeat from * to * around. Join with a sl st to the top of the starting ch-3. (48 sts)
Finishing
Fasten off your yarn, leaving a six-inch tail. Use your yarn needle to weave the end through the back of the final stitches to secure it. Trim the excess yarn close to the fabric, being careful not to cut the knot. Gently tug on the coaster to ensure the circle lays perfectly flat.
Care & Washing Instructions
- Machine wash your cotton coasters on a gentle cycle in cold water to prevent shrinking or distortion.
- Lay the coasters flat on a clean towel to air dry, ensuring they are shaped into a perfect circle while damp.
- If the coasters lose their shape after heavy use, lightly dampen them and press them flat under a heavy book until completely dry to restore the original tension.
Pro Tips & Common Mistakes to Avoid
Consistent tension is the secret to a flat coaster. If your coaster begins to ruffle like a taco, your stitches are too tight; if it cups or bowls, you are likely working too loosely. Always use a stitch marker in the first stitch of every round to avoid missing your joining point, which is a common error that leads to an uneven circle. Weaving your ends in by passing the needle through the base of the stitches on the back side of the work ensures the closure is invisible and prevents the yarn from fraying. If you want a larger coaster, add another round by following the established increase pattern (e.g., dc in next 3 sts, 2 dc in next), though keep in mind this will increase your total yardage requirement by about 20 percent.
Frequently Asked Questions
Can I use a larger hook size for this pattern?
Using a larger hook will result in a looser, more open fabric that does not hold its shape as well. For the best heat protection, stick to a 5.0 mm hook or smaller to maintain a tight, dense weave.
How can I make these coasters more absorbent?
Stick to 100% cotton or a cotton-linen blend. Avoid synthetic fibers like acrylic or polyester, as they do not absorb moisture and will cause condensation to pool on your table surface.
Are these patterns suitable for beginners who only know how to chain?
This pattern is perfect for those moving beyond the chain. You will only need to learn the magic ring, the double crochet stitch, and the slip stitch to finish this project successfully.
Am I allowed to sell the coasters I make from this pattern?
You are welcome to sell finished items made from this design, provided you credit the pattern origin. Please do not redistribute or sell the written pattern instructions themselves.
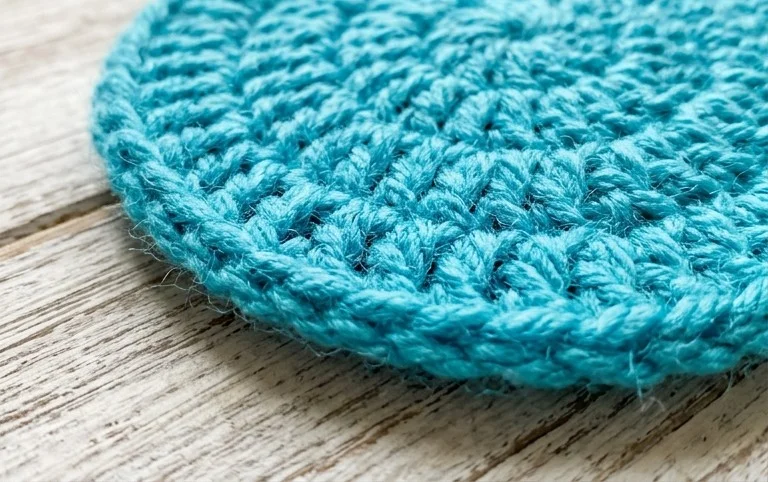
A fresh scrubby adds a bright touch to the kitchen and saves you from buying plastic alternatives. You can change the texture by using a blend of cotton and nylon cord, or experiment with variegated yarn to match your favorite color scheme. Once you finish your first one, snap a photo to show off your work on social media. Check back here to find more free projects for your next afternoon of crafting. Each handmade item builds your skills and adds comfort to your home space.