10 Free Crochet Kitchen Patterns for Easy Xmas Gifts
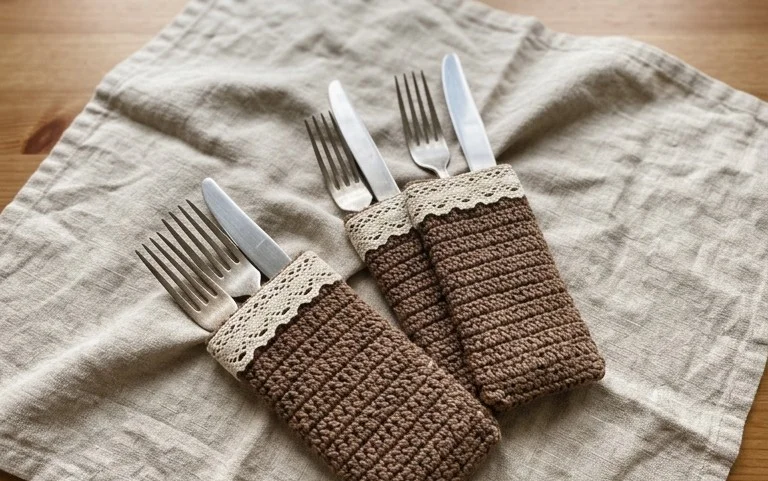
A simple handmade cotton coaster or a textured dishcloth adds a warm, personal touch to any kitchen space during the holiday season. These small projects feel sturdy under the hands and come together in just an hour or two, making them the ultimate solution for those last-minute presents. You will focus on mastering clean edge finishes and repetitive stitch patterns that create a durable, absorbent fabric suitable for daily use. Beginners often find that working with cotton yarn helps them see their stitch definition clearly, which keeps the process stress-free while prepping your holiday gift pile for friends.
Why You’ll Love This Pattern
This beginner-friendly amigurumi mushroom is the ideal starting point for anyone looking to practice working in continuous rounds. The structure uses basic single crochet stitches and simple increase and decrease techniques, ensuring you can build confidence without complex stitch patterns. Because it uses less than 20 grams of yarn, it serves as a stash-busting project for those leftover bits of worsted weight yarn sitting in your craft basket. You can complete the entire project in a single afternoon, making it a reliable choice for last-minute gifts or stocking stuffers.
I finally learned how to close a magic ring properly with this pattern. It worked up so fast and the finished mushroom looks exactly like the photos.
— Sarah, amigurumi enthusiast
Pattern Overview & Skill Level
- Skill Level: Beginner
- Approximate Time: 1 to 2 hours
- Construction: Worked in continuous rounds using a magic ring; top and stem are made separately and sewn together
- Finished Dimensions: Approximately 3 inches tall and 2.5 inches wide
Materials & Supplies Needed
- Yarn: Worsted weight (#4) acrylic or cotton blend, approximately 15 yards of red and 10 yards of cream
- Hook Size: 3.5 mm (E-4) for a tight, gap-free fabric
- Notions: Polyester fiberfill stuffing, yarn needle with a blunt tip, stitch marker, and 8mm black safety eyes
- Safe yarn substitutions: You may use DK weight yarn with a 3.0 mm hook for a smaller, more delicate mushroom, though this will reduce the final size by about 20 percent. Avoid bulky yarns unless you increase your hook size to maintain a dense enough weave to hold the stuffing.
Stitch Guide & Abbreviations (US Terms)
- MR: Magic Ring
- ch: Chain
- sc: Single crochet
- inc: Increase (work 2 sc in the same stitch)
- dec: Invisible decrease (insert hook into front loops of next 2 stitches, yarn over, pull through 2 loops, yarn over, pull through remaining 2 loops)
- sl st: Slip stitch
- st(s): Stitch(es)
Mushroom Cap
Use the red yarn for the top of the mushroom.
- Rnd 1: Start 6 sc in a MR (6 sts)
- Rnd 2: Inc in each st around (12 sts)
- Rnd 3: 1 sc, inc repeat 6 times (18 sts)
- Rnd 4: 2 sc, inc repeat 6 times (24 sts)
- Rnd 5: 3 sc, inc repeat 6 times (30 sts)
- Rnd 6-9: Sc in each st around (30 sts)
- Rnd 10: 3 sc, dec repeat 6 times (24 sts)
- Rnd 11: 2 sc, dec repeat 6 times (18 sts). Fasten off, leaving a long tail for sewing.
Mushroom Stem
Use the cream yarn. Insert safety eyes between rounds 4 and 5 of the stem before closing.
- Rnd 1: Start 6 sc in a MR (6 sts)
- Rnd 2: Inc in each st around (12 sts)
- Rnd 3: 1 sc, inc repeat 6 times (18 sts)
- Rnd 4-7: Sc in each st around (18 sts)
- Rnd 8: 1 sc, dec repeat 6 times (12 sts)
- Rnd 9: dec repeat 6 times (6 sts). Fasten off and weave in the end.
Assembly
Stuff the stem firmly to ensure the mushroom stands upright. Place the cap over the top opening of the stem. Use the long tail from the cap to whip stitch the bottom edge of the cap to the top of the stem. Ensure the stitches catch both the back loop of the cap and the top edge of the stem for a secure connection.
Care & Washing Instructions
- Hand wash in cool water using a gentle detergent to preserve the shape and fiber integrity.
- Lay the item flat on a towel to air dry, turning it over occasionally to ensure even evaporation.
- Reshape the mushroom by gently pressing on the cap with your palms while the yarn is slightly damp.
Pro Tips & Common Mistakes to Avoid
Maintain consistent tension throughout the project to ensure the stuffing does not show through the gaps between stitches. Always place a stitch marker at the start of each round to keep track of your count without having to recount from the magic ring every time. When weaving in your ends, run the needle under the stitches on the inside of the piece to keep the exterior surface clean and professional. If you want a larger mushroom, you can add an extra increase round to the cap, but remember that you will need approximately 25 percent more yarn to compensate for the added surface area.
Frequently Asked Questions
Can I use a larger hook for this pattern?
Using a larger hook will result in a looser stitch, which may allow the stuffing to peek through. If you prefer a larger size, it is better to use a heavier weight yarn rather than increasing your hook size.
Is this pattern suitable for complete beginners?
Yes, this is an excellent starter project. It focuses on the most essential amigurumi skills, specifically the magic ring and continuous round counting, without requiring complex color changes.
Can I sell the items I make from this pattern?
You are welcome to sell finished items made from this pattern, provided you credit the designer and use your own original photographs for your listings.
What is the best way to stuff the mushroom?
Use small clumps of fiberfill rather than one large piece. This prevents lumps and helps you achieve a firm, smooth surface on both the stem and the cap.
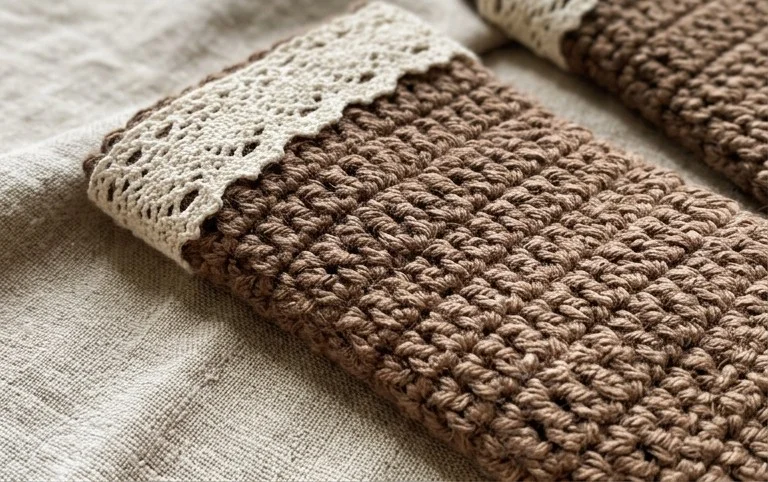
Your finished mushroom decoration brings a cozy, woodland charm to your stovetop or kitchen shelf this winter. You can personalize this project by swapping the red yarn for forest green or golden yellow to match your specific home decor theme. Sharing a photo of your handmade creation on your favorite social media platform helps other crafters find inspiration for their own holiday projects. Visit the rest of our blog archive for more free kitchen accessory patterns that you can complete in a single cozy afternoon.