Easy Crochet Fingerless Gloves and Beanie Free Pattern
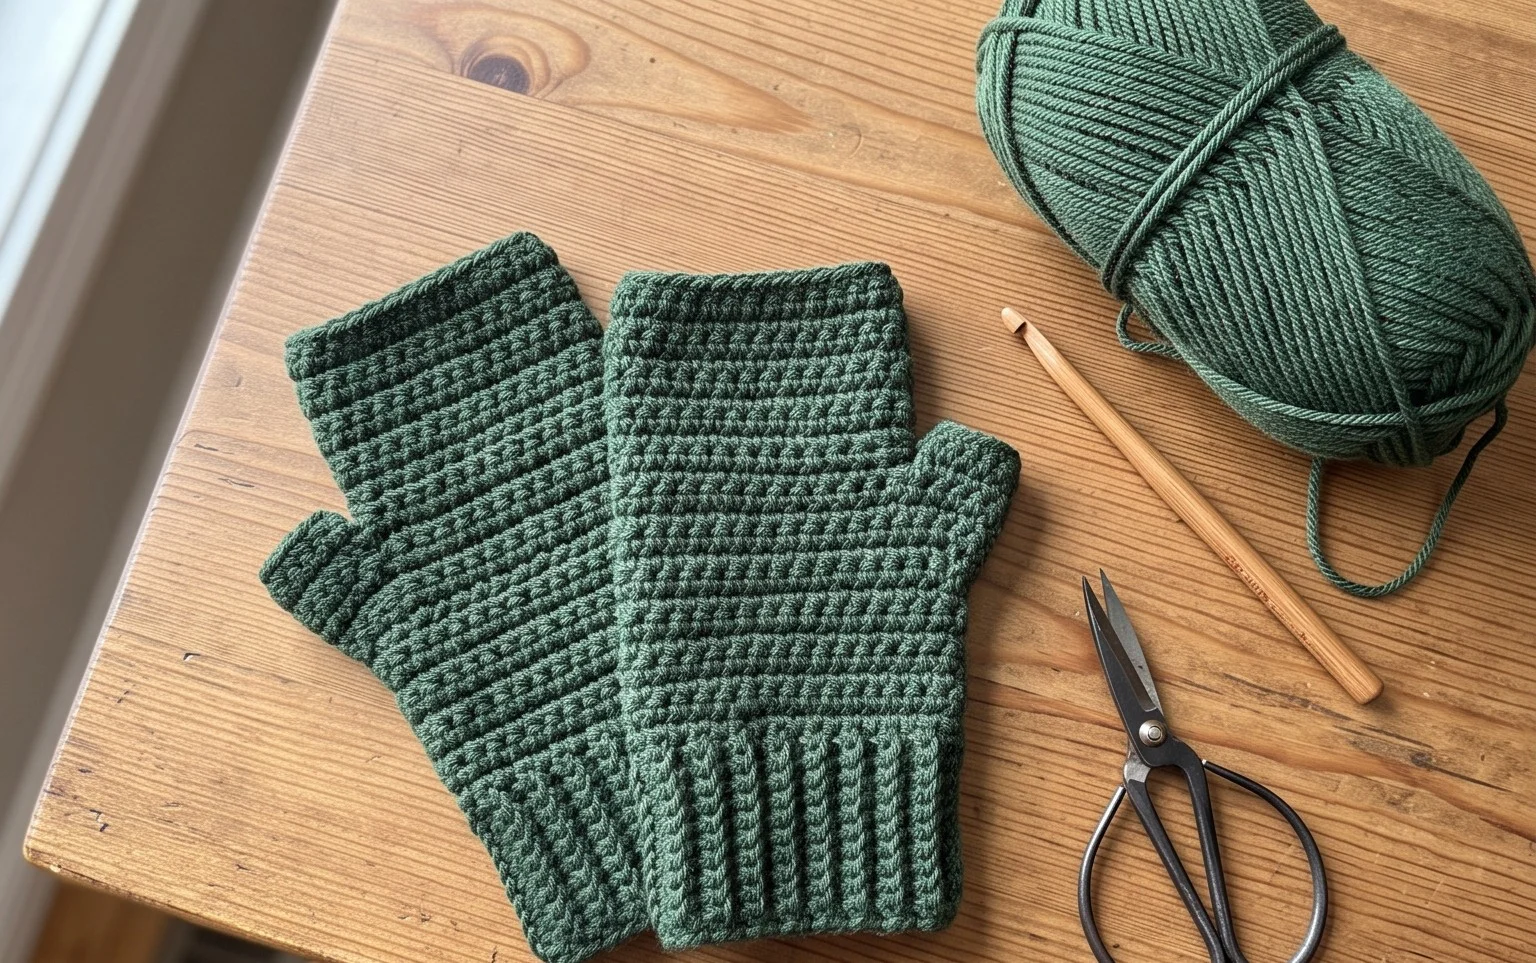
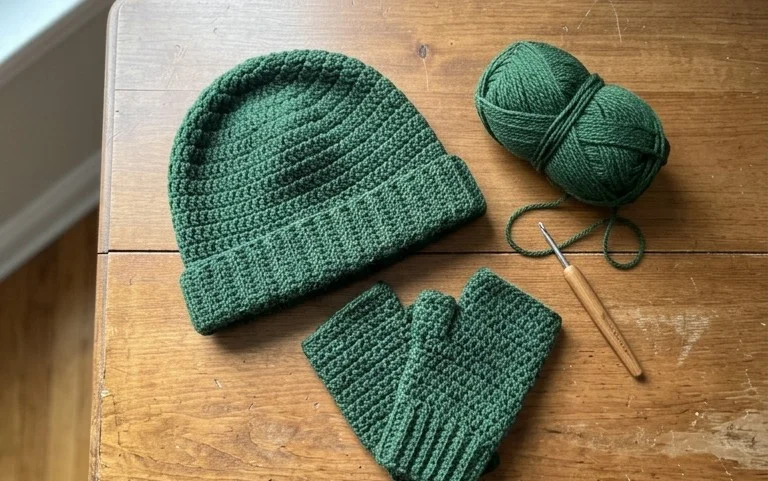
This matching set features a soft, squishy ribbing that hugs your head and hands without feeling bulky or restrictive. You will create a dense fabric using basic yarn, which holds its shape well even after repeated washing during the coldest months of the year. Making these pieces feels like a meditative exercise because the repetitive motion of the half-double crochet stitch works up quickly in your hands. Beginners often find this project rewarding since it avoids complex counting while teaching essential skills like seaming and tension maintenance. You will learn how to transition between flat panels to form structured, comfortable accessories for your everyday winter wardrobe.
Why You’ll Love This Pattern
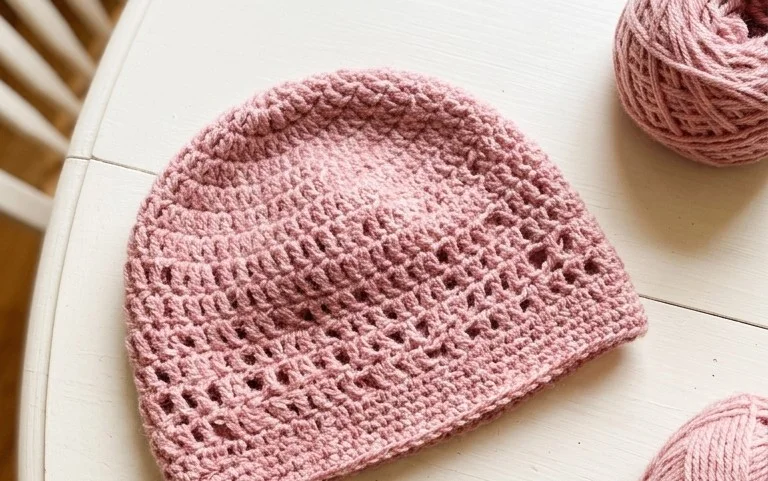
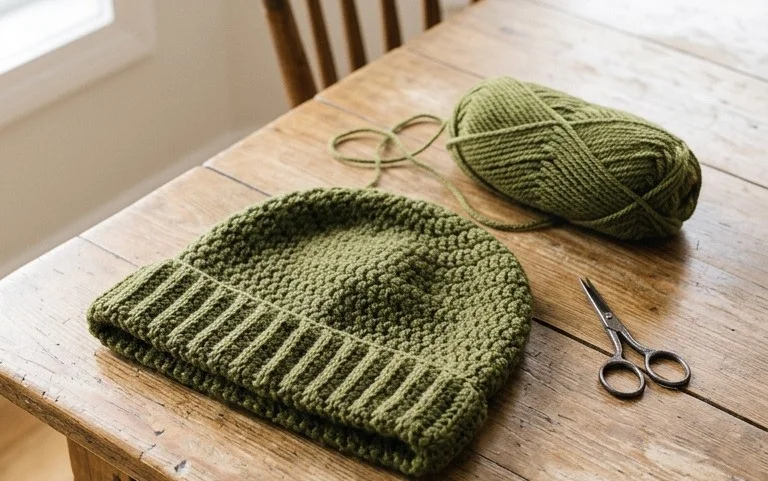
This crochet ribbed beanie pattern uses the half-double crochet stitch worked in the back loop only to create a stretchy, professional-looking fabric that mimics the appearance of knit ribbing. Because the hat is worked as a flat rectangular panel and then seamed, it is an excellent project for beginners looking to practice tension control. The fabric provides significant warmth while maintaining a lightweight feel, making it suitable for transitional weather or cold winter days. The pattern relies on a single, easy-to-memorize row repeat, allowing you to complete a hat in just a few hours. It is also an efficient way to use up partial skeins of worsted weight yarn remaining from larger projects.
I managed to finish this hat in one evening while watching a movie. The instructions were easy to follow and the ribbing looks exactly like a store-bought beanie.
— Sarah, casual crocheter
Pattern Overview & Skill Level
- Skill Level: Beginner
- Approximate Time: 3 to 4 hours
- Construction: Worked flat in rows as a rectangle, then seamed along the long edge and cinched at the top to form the crown.
- Finished Dimensions: 9 inches wide by 11 inches tall (unfolded), fits average adult head sizes 21 to 23 inches in circumference.
Materials & Supplies Needed
- Yarn: Worsted weight (#4), wool or acrylic blend, approximately 200 yards.
- Hook Size: 5.0 mm (US H-8) crochet hook.
- Notions: Tapestry needle for seaming and weaving in ends, locking stitch markers, and scissors.
- Yarn Substitutions: You can use a cotton blend for a summer weight version, though it will have less stretch than wool; ensure your gauge matches the listed requirements to maintain the intended fit.
Stitch Guide & Abbreviations (US Terms)
- ch = chain
- hdc = half double crochet
- BLO = back loop only (insert hook under the back loop of the stitch instead of both loops to create ridges)
- st/sts = stitch/stitches
- sl st = slip stitch
- BLO hdc: Yarn over, insert hook into the back loop only of the next stitch, yarn over and pull up a loop, yarn over and pull through all three loops on the hook.
Step-by-Step Pattern Instructions
Main Hat Panel
- Row 1: Ch 41. Hdc in the second ch from hook and each ch across. (40 sts)
- Row 2: Ch 1, turn. Hdc in the BLO of each st across. (40 sts)
- Rows 3–60: Repeat Row 2 until the piece measures approximately 18 inches in length when laid flat. Do not fasten off after the final row.
Assembly and Finishing
- Seaming: Fold the rectangle in half, matching the short ends together. Slip stitch through the BLO of the last row and the foundation chain row across the edge to join the hat into a tube. Fasten off, leaving a 12-inch tail of yarn.
- Closing the Crown: Using your tapestry needle, weave the long tail in and out of every other row end along the top edge of the tube. Pull the tail tightly to gather the top of the hat closed. Secure with a few knots on the inside.
- Weaving Ends: Turn the hat right side out. Weave in any remaining yarn ends securely on the inside of the hat to prevent fraying.
Care & Washing Instructions
- Hand wash in cool water with a gentle wool-safe detergent to maintain the elasticity of the stitches.
- Lay the hat flat on a clean towel to air dry, reshaping it gently with your hands while damp.
- Do not hang the hat to dry, as the weight of the water can stretch out the vertical ribbing.
Pro Tips & Common Mistakes to Avoid
Maintain consistent tension throughout the project, as the half double crochet stitch is prone to slight variations in height. If you find your edges are curling, try using a slightly larger hook for the foundation chain. Use a stitch marker at the end of each row to ensure you are not accidentally dropping stitches, which will cause your hat to taper into a triangle rather than staying a rectangle. To adjust the size, simply increase or decrease the number of chains in Row 1 to change the height, or add more rows to increase the circumference, noting that each additional row will use approximately 3 to 4 yards of yarn.
Frequently Asked Questions
Can I use a chunky weight yarn instead of worsted?
You can use a thicker yarn, but you will need to adjust your starting chain length to achieve the same finished height and use a larger hook size to ensure the fabric remains flexible rather than stiff.
How do I make the hat fit a child’s head?
Reduce the starting chain to 30 or 35 stitches for a shorter height and stop the repeat rows once the piece measures 16 to 17 inches in length.
Is this pattern suitable for complete beginners?
Yes, this is an ideal starter project because it uses only one basic stitch and requires no complex shaping or increases and decreases.
Can I sell the hats I make from this pattern?
You are welcome to sell finished items made from this pattern, provided you credit the design. Please do not redistribute the pattern text itself.
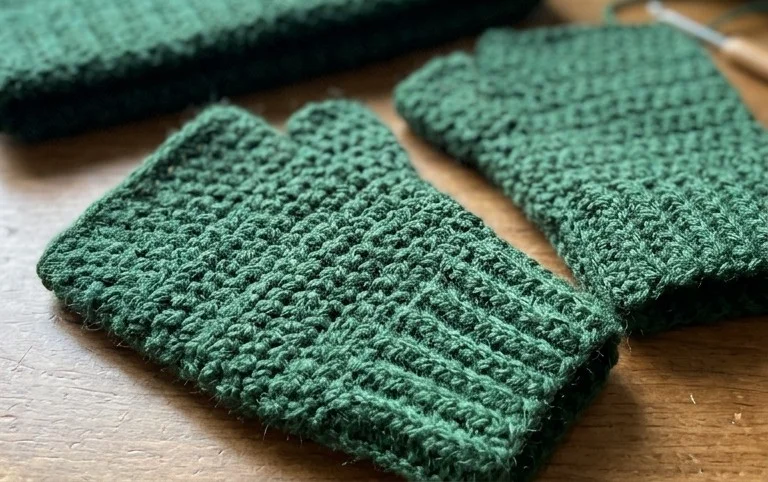
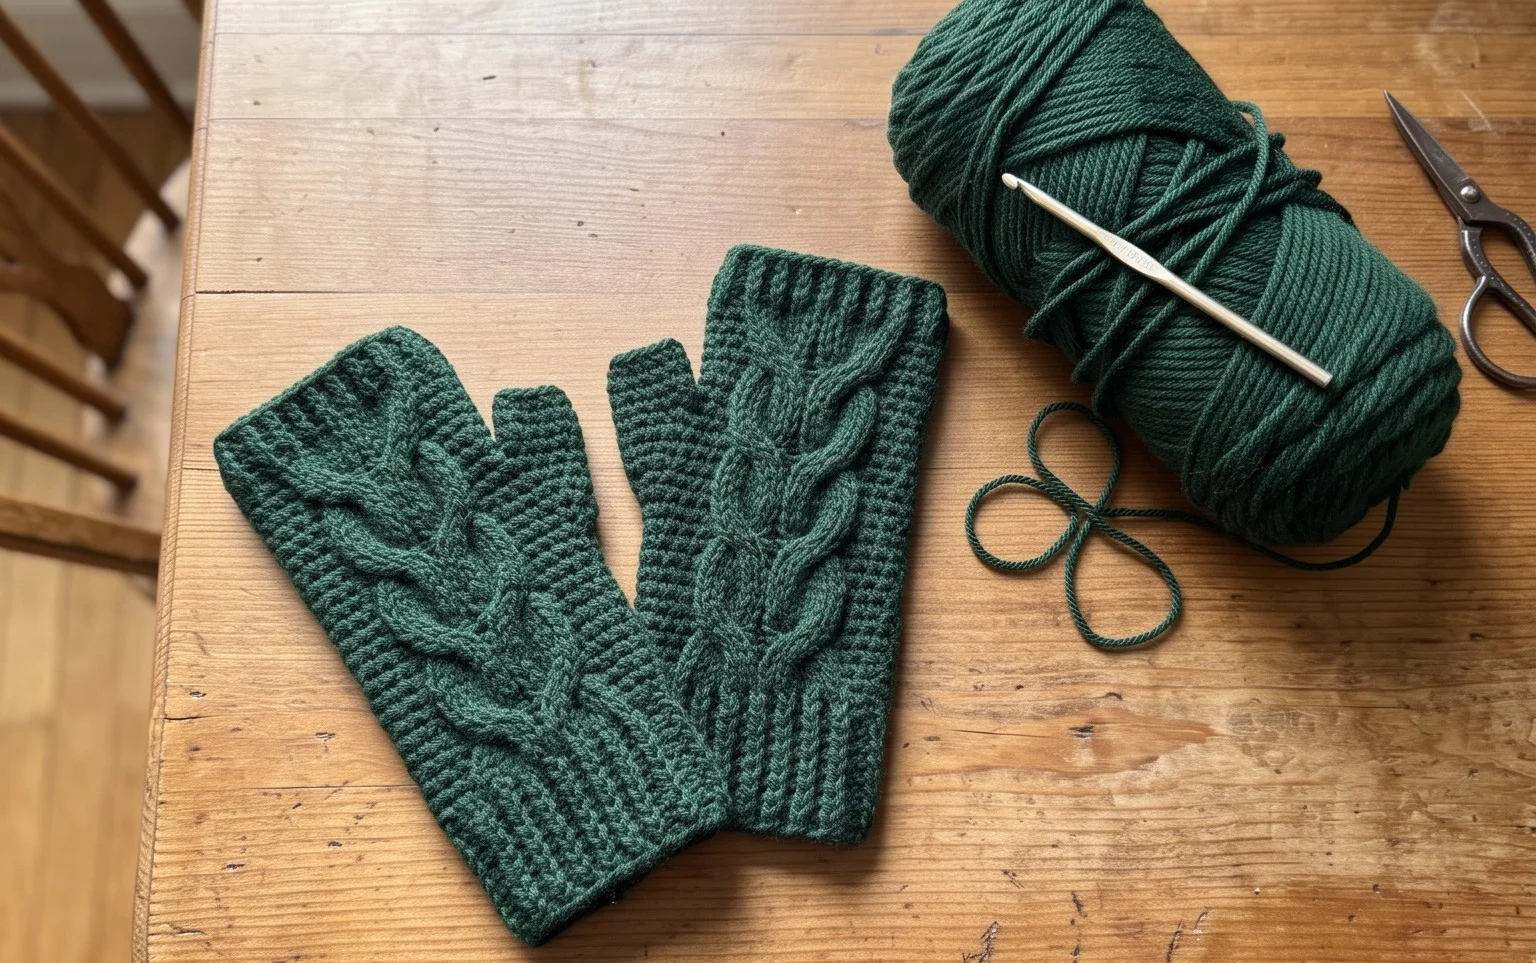
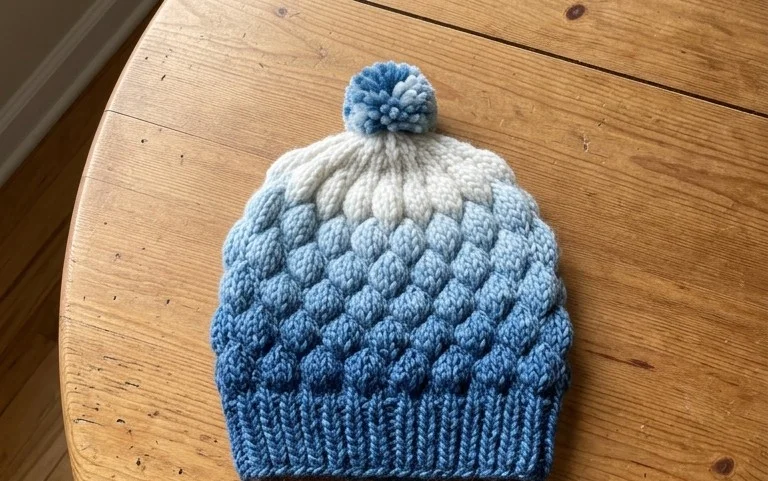
Finishing these warm accessories gives you a functional set that keeps your fingers free for tasks while shielding your head from the biting wind. You can customize the look by using a self-striping variegated yarn or by adding a faux fur pompom to the top of the hat for extra flair. Upload a picture of your finished work to your favorite social platform so others can see your color choices. Browse through the other free projects on our blog to find your next afternoon craft session.