Easy Leaf Motif Crochet Coasters: Free Beginner Pattern
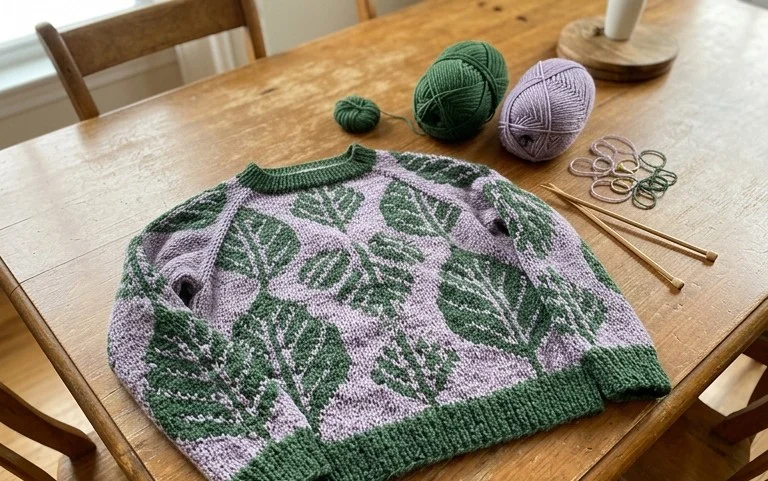
These textured leaf motif coasters add a soft, organic touch to any wooden coffee table while protecting surfaces from pesky water rings. Beginners often find this project approachable because it relies on basic chain and single crochet stitches rather than complicated shaping. The finished fabric feels dense and firm under a mug, providing a stable base that holds up well after many uses. You will enjoy how quickly the repetitive nature of the leaves comes together, making this a relaxing evening activity. We will cover the specific stitch sequence needed to create these crisp, defined veins and edges in your own home.
Why You’ll Love This Pattern
This beginner-friendly crochet coaster pattern uses a simple moss stitch variation that creates a dense, absorbent fabric, making it ideal for protecting tabletops from condensation. Because it works up in less than 30 minutes, it is an efficient project for using up small amounts of leftover cotton yarn. The final square has a clean, modern aesthetic that fits into almost any home decor style. You will find this pattern relaxing due to the repetitive nature of the stitches, which requires little counting once the first few rows are established.
I managed to finish a full set of four coasters in a single evening while watching a movie. The instructions were very clear and the resulting fabric is thick enough to hold a sweating glass without leaking through.
— Sarah, hobbyist crocheter
Pattern Overview & Skill Level
- Skill Level: Beginner
- Approximate Time: 20–30 minutes per coaster
- Construction: Worked in flat rows starting from a foundation chain
- Finished Dimensions & Sizing: 4 inches by 4 inches
Materials & Supplies Needed
- Yarn: Worsted weight (#4) 100% cotton yarn, approximately 15 yards per coaster. Cotton is chosen for its heat resistance and absorbency.
- Hook Size: 5.0 mm (H-8) crochet hook
- Notions: Tapestry needle for weaving in ends, sharp scissors, optional stitch markers to keep track of row edges
- Safe yarn substitutions: You may use acrylic yarn, though it will be less absorbent than cotton and may melt if exposed to extremely hot mugs. Wool yarn can be used but will require hand washing and may felt over time.
Stitch Guide & Abbreviations (US Terms)
- ch: chain
- sc: single crochet
- st/sts: stitch/stitches
- sk: skip
- rep: repeat
- turn: turn your work
- sl st: slip stitch
Step-by-Step Pattern Instructions
Main Body
The coaster is worked back and forth in rows. By skipping stitches and working into the chain spaces, you create a sturdy, woven-look texture.
- Row 1: Ch 16. Sc in the 2nd ch from the hook and in each remaining ch across. Turn. (15 sts)
- Row 2: Ch 1, sc in the first st. Ch 1, sk 1, sc in the next st. Rep from * to * until the end of the row. Turn. (8 sc, 7 ch-spaces)
- Row 3: Ch 1, sc in the first st. Sc in the first ch-space. Ch 1, sk the next sc, sc in the next ch-space. Rep from * to * until the last st. Sc in the last st. Turn. (9 sc, 7 ch-spaces)
- Row 4: Ch 1, sc in the first st. Ch 1, sk 1, sc in the next ch-space. Rep from * to * until the last 2 sts. Ch 1, sk 1, sc in the last st. Turn. (8 sc, 7 ch-spaces)
- Rows 5–18: Repeat Rows 3 and 4 alternatingly until the piece forms a square.
- Final Row: Ch 1, sc in each sc and each ch-space across to create a smooth edge. Fasten off, leaving a 6-inch tail for weaving.
Finishing
Use your tapestry needle to weave the starting and ending tails back through the stitches on the back side of the coaster. Trim the excess yarn close to the fabric, ensuring you do not cut the actual stitches.
Care & Washing Instructions
- Machine wash in cold water on a gentle cycle to prevent shrinking or distortion.
- Reshape the coaster while damp and lay it flat on a towel to air dry completely.
- Avoid using fabric softener, as it can reduce the natural absorbency of the cotton fibers over time.
Pro Tips & Common Mistakes to Avoid
- Maintain consistent tension, especially on the chain stitches, so the edges of your square remain straight rather than wavy.
- Use a stitch marker in the first stitch of every row if you find yourself accidentally dropping or adding stitches at the edges.
- Weave your ends in multiple directions—horizontally, vertically, and diagonally—to ensure they remain hidden and secure through repeated washings.
- To adjust the size, start with an even number of chains. Every additional 2 chains will add approximately 0.5 inches to the width of the coaster.
Frequently Asked Questions
Can I use a larger hook for this pattern?
Yes, you can use a 5.5 mm or 6.0 mm hook, but it will result in a looser, more open weave that is less effective at absorbing liquid.
Is this project suitable for a complete beginner?
Absolutely. This pattern uses only basic chain and single crochet stitches, making it an ideal first project for those who are just learning to control their tension.
Can I sell the coasters I make from this pattern?
You are welcome to sell your finished handmade items, provided you credit the original pattern design and use your own photographs for your listings.
Why does my coaster look like a trapezoid instead of a square?
This usually happens when you accidentally skip the last stitch of a row or add an extra stitch at the end. Always count your stitches at the end of each row to ensure you maintain the 15-stitch count.
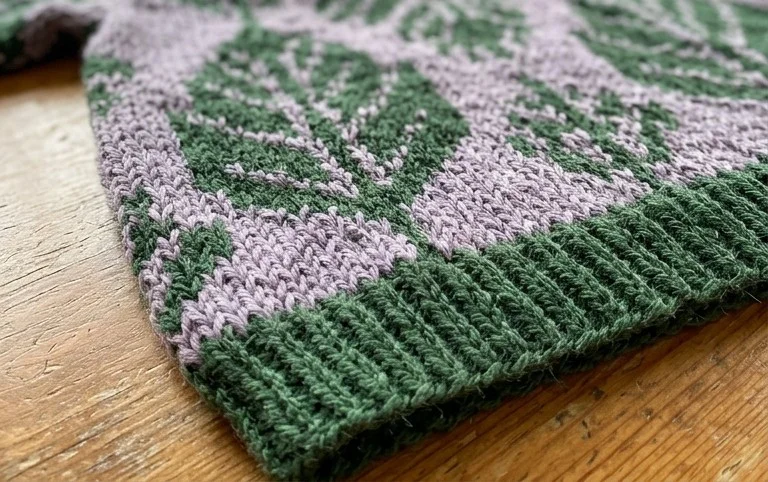
Your finished set of leaf coasters brings a functional, handcrafted charm to your living room or kitchen table. You might consider using a variegated cotton yarn for your next batch to mimic the natural color shifts found in autumn foliage or increasing the hook size for a larger placemat version. Please tag your progress photos on social media so others can see your beautiful stitch work. Our blog archives hold many more patterns that use similar basic techniques, so feel free to browse through our collection of simple home decor projects.