Jumbo Crochet Christmas Stockings: Free Beginner Pattern
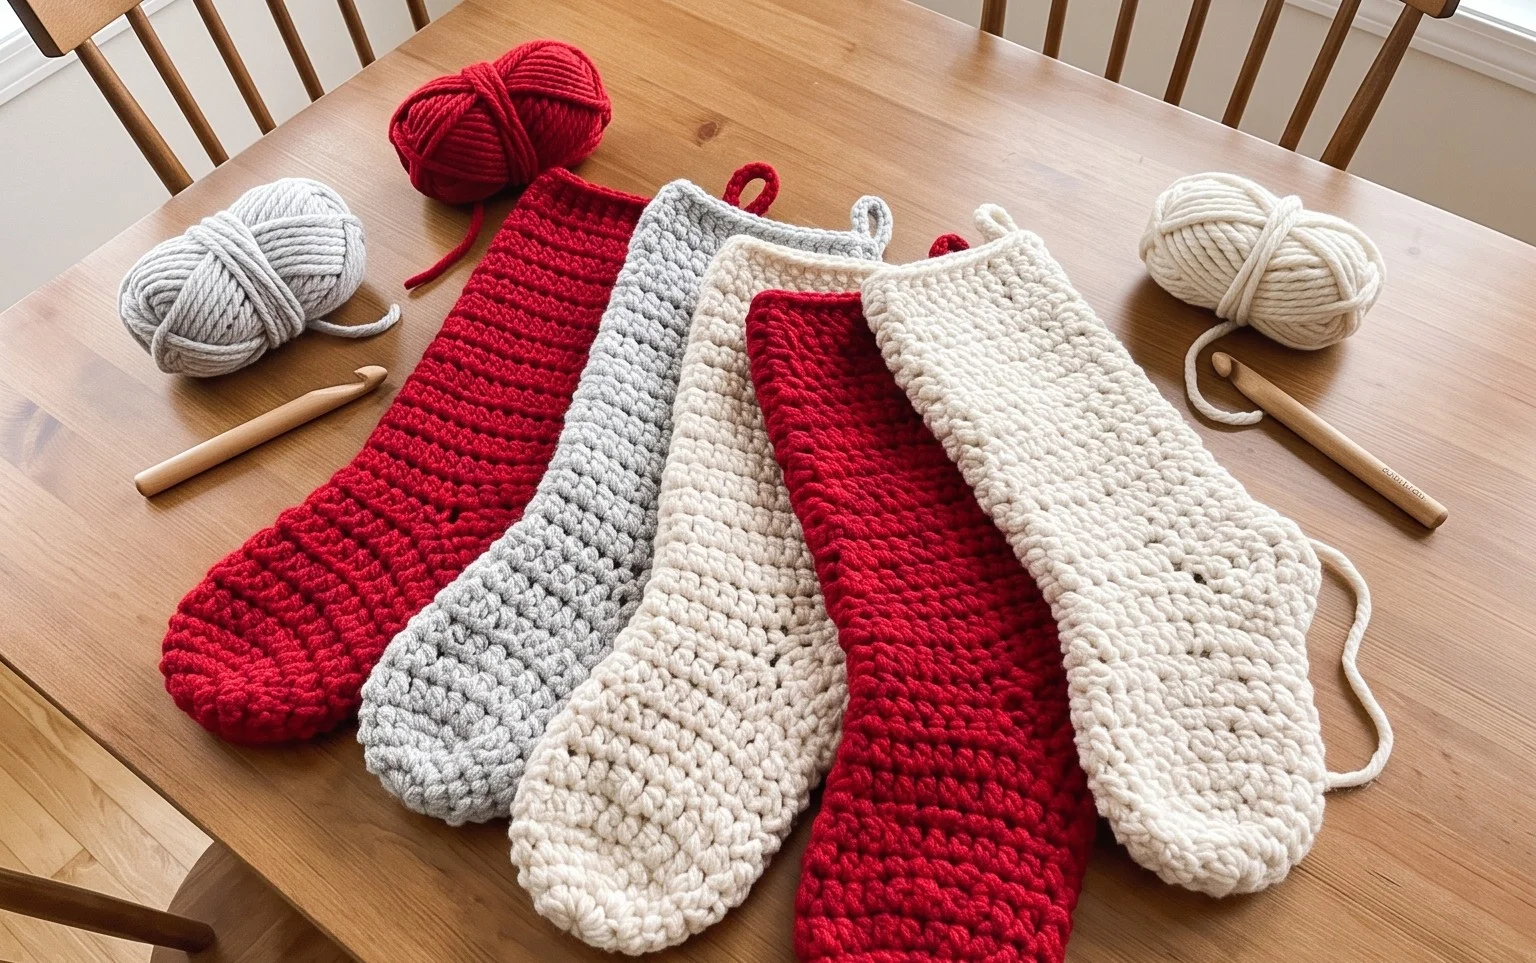
Hanging oversized stockings on the fireplace mantel adds a cozy, handmade touch to the holiday season that store-bought versions simply cannot replicate. These jumbo stockings feature a thick, plush texture created with chunky yarn, making them sturdy enough to hold plenty of treats and small gifts for your family. Whether you are a newcomer to crochet or just want a fast project that yields impressive results, this pattern uses basic half double crochet stitches worked in a continuous spiral. You will learn how to shape the heel and toe transitions to create a classic heirloom piece that lasts for years.
Why You’ll Love This Pattern
This beginner-friendly crochet coaster pattern uses simple single crochet stitches and a tight tension to create a durable, heat-resistant surface for your favorite mugs. Because it works up in under 30 minutes, it is the ideal project for using up small amounts of leftover cotton yarn. The circular construction prevents curling, ensuring your coasters sit perfectly flat on any tabletop. You can easily make a set of four in a single evening, making them a thoughtful, handmade gift for housewarmings or holiday exchanges.
These coasters are the first project I ever finished that actually looked like the photo. The pattern is very easy to follow and the finished size is exactly what I needed for my coffee table.
— Sarah, hobbyist crafter
Pattern Overview & Skill Level
- Skill Level: Beginner
- Approximate Time: 20-30 minutes per coaster
- Construction: Worked in continuous rounds from the center outward
- Finished Dimensions: 4 inches (10 cm) in diameter
Materials & Supplies Needed
- Yarn: Worsted weight (#4) 100% cotton yarn, approximately 15 yards per coaster. Cotton is necessary for heat resistance and absorbency.
- Hook Size: 4.5 mm (US 7) hook. A smaller hook than typically recommended for worsted yarn creates the required tight, dense fabric.
- Notions: Tapestry needle for weaving in ends, one locking stitch marker to track the start of rounds.
- Yarn Substitutions: You may use a blend of cotton and acrylic, though it will be less heat-resistant. Avoid 100% acrylic or wool for this specific project as they can melt or felt when exposed to hot mugs.
Stitch Guide & Abbreviations (US Terms)
- MR: Magic Ring. A method for starting rounds by crocheting into an adjustable loop.
- ch: Chain.
- sc: Single crochet. Insert hook, yarn over, pull up a loop, yarn over, pull through two loops.
- inc: Increase. Work 2 single crochet stitches into the same stitch to add volume.
- sl st: Slip stitch. Insert hook, yarn over, pull through both the stitch and the loop on your hook.
- st/sts: Stitch/stitches.
Step-by-Step Pattern Instructions
Coaster Body
The coaster is worked in continuous rounds without joining at the end of each round. Use a stitch marker to keep track of the first stitch of every round.
- Rnd 1: Start with a MR and work 6 sc into the ring. Tighten the loop to close the center. (6 sts)
- Rnd 2: Work 2 sc in each st around. (12 sts)
- Rnd 3: 1 sc in next st, inc in next st. Repeat from * to * 6 times. (18 sts)
- Rnd 4: 1 sc in next 2 sts, inc in next st. Repeat from * to * 6 times. (24 sts)
- Rnd 5: 1 sc in next 3 sts, inc in next st. Repeat from * to * 6 times. (30 sts)
- Rnd 6: 1 sc in next 4 sts, inc in next st. Repeat from * to * 6 times. (36 sts)
- Rnd 7: 1 sc in next 5 sts, inc in next st. Repeat from * to * 6 times. (42 sts)
Finishing
Once you complete Round 7, work one slip stitch into the next stitch to level off the edge. Cut your yarn, leaving a 6-inch tail. Pull the yarn tail completely through the loop on your hook. Use a tapestry needle to weave the end through the back of the stitches to secure it, then trim any excess yarn. Repeat the process for the starting tail at the magic ring, ensuring the center is pulled tight so no gap remains.
Care & Washing Instructions
- Machine wash in cold water on a gentle cycle using a mild detergent.
- Lay flat on a clean towel to air dry, reshaping the coaster with your hands while damp.
- Do not iron or bleach, as this may degrade the cotton fibers and affect the structure of the coaster.
Pro Tips & Common Mistakes to Avoid
- Maintain consistent tension throughout the project. If your stitches feel loose, drop down a hook size to ensure the coaster remains dense enough to protect your furniture from liquid condensation.
- Always place a stitch marker at the first stitch of every round. Because this project is worked in a continuous spiral, it is easy to lose track of where your round begins without one.
- Weave your yarn tails in multiple directions rather than just one straight line. This prevents the ends from popping out after the coaster undergoes repeated washing.
- You can easily adjust the size of these coasters by adding or skipping rounds. Adding more rounds will increase the diameter, but keep in mind that larger coasters will require more yarn and may not lay as flat if the tension is not perfectly even.
Frequently Asked Questions
Can I use a different weight of yarn for this pattern?
While you can use different weights, it will significantly change the size of the finished coaster. Using a lighter weight yarn will result in a smaller coaster, while a heavier yarn will result in a larger, thicker one. If you change yarn weights, adjust your hook size to ensure the fabric remains tight and dense.
How do I know if my magic ring is tight enough?
After you complete the first few stitches of Round 1, pull the short tail of your magic ring firmly. You should feel the center hole close up completely. If a gap remains, pull the tail again before you finish Round 2 to secure the center tightly.
Is this project suitable for absolute beginners?
Yes, this is an excellent starter project. It uses only the basic single crochet stitch and the magic ring technique. If the magic ring is too difficult at first, you can chain 3 and work 6 single crochet stitches into the first chain to achieve a similar result.
Can I sell the coasters I make using this pattern?
You are welcome to sell finished items made from this pattern. I only ask that you credit the design and use your own photographs when listing them for sale. Please do not redistribute the written pattern itself.
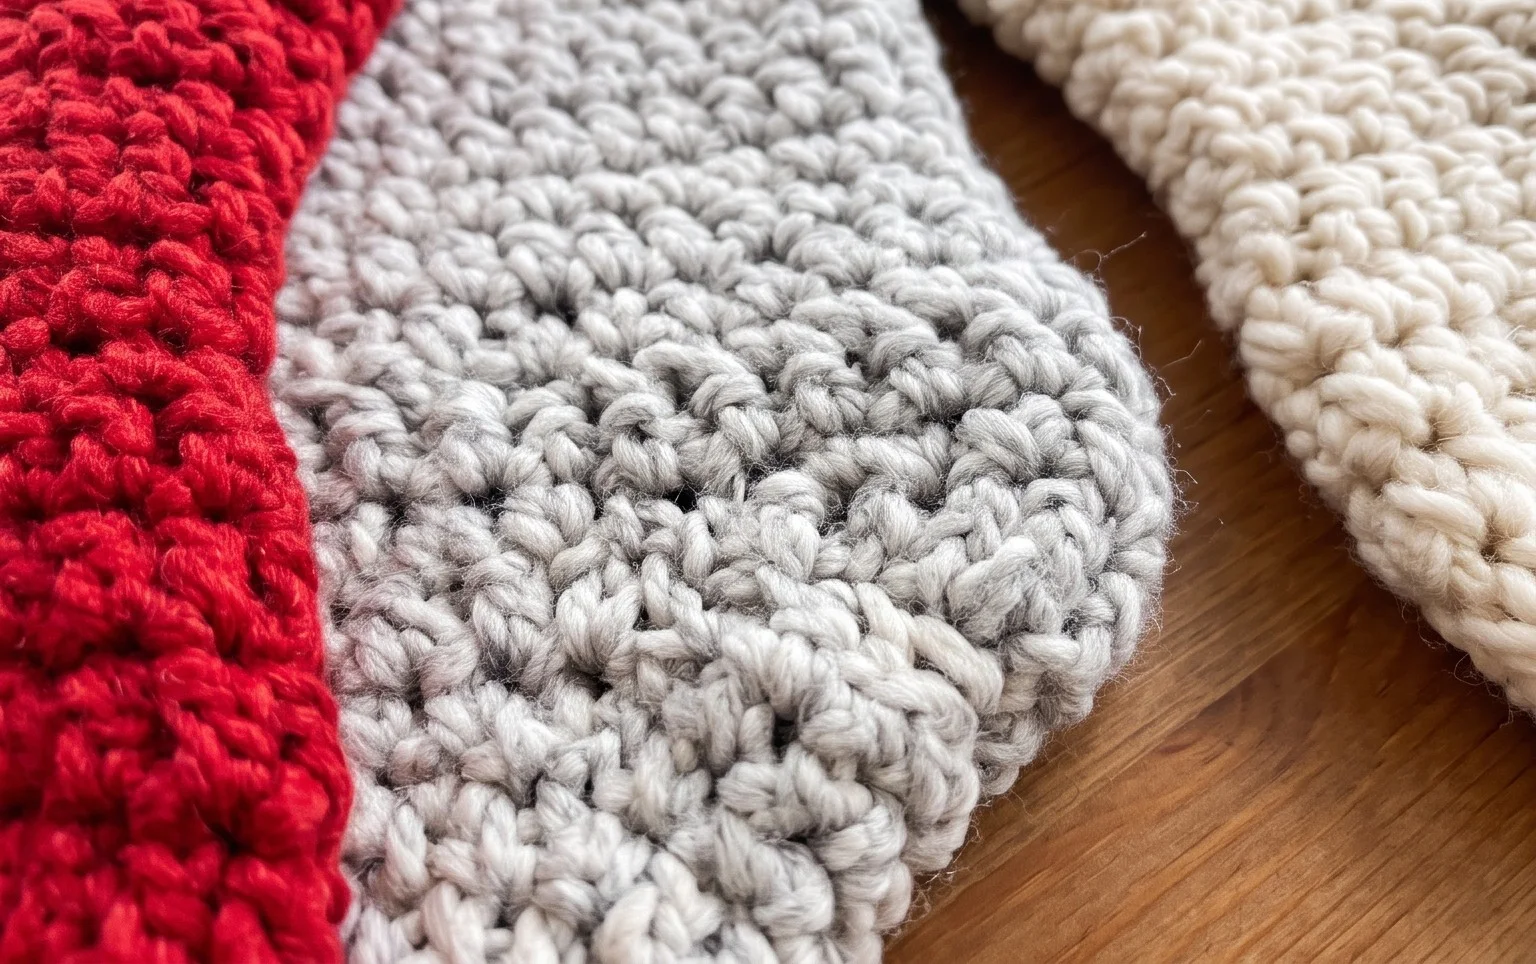
Displaying your completed work on the wall fills the room with warmth and personality throughout December. You can change the aesthetic of these stockings by alternating stripes of cream and dark forest green yarn or adding a faux fur cuff for extra weight. Once you finish your holiday project, share a photo of your mantle display with our online community to inspire other crafters. Our blog contains many more free holiday patterns to keep your hands busy during the colder months of the year.